


 Việt Nam
Trung tâm cứu trợ  Hướng dẫn sử dụng Proxy dân cư tĩnh
Hướng dẫn sử dụng Proxy dân cư tĩnh BitBrowser Configuration
329 Ngày trước.
To configure lumiproxy proxy in BitBrowser, just follow these steps:
1. First, you need to download and install BitBrowser on your device
2. Next open it and register or log in to your account.
3. Go to the "Browser Profiles" section and click on the "+ Add" button to add a new profile.
4. In the Basic section, specify your profile name and any other information (if required).
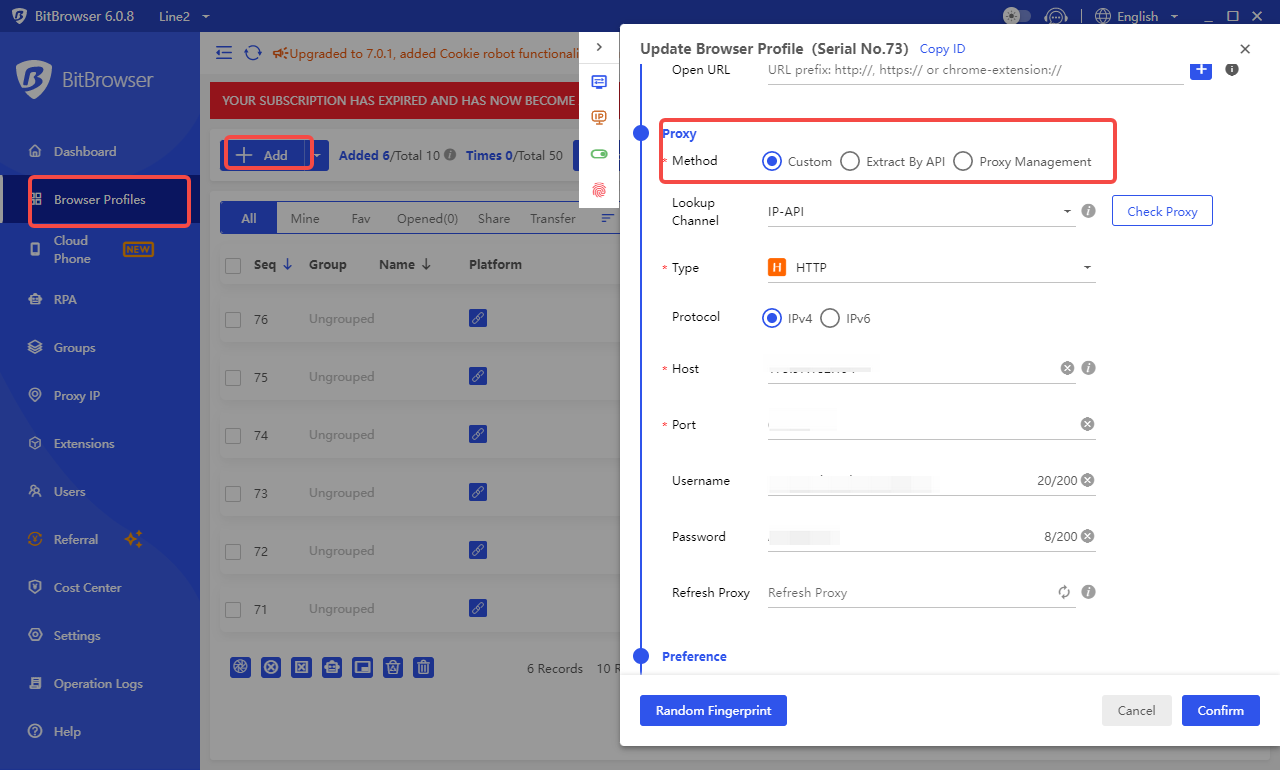
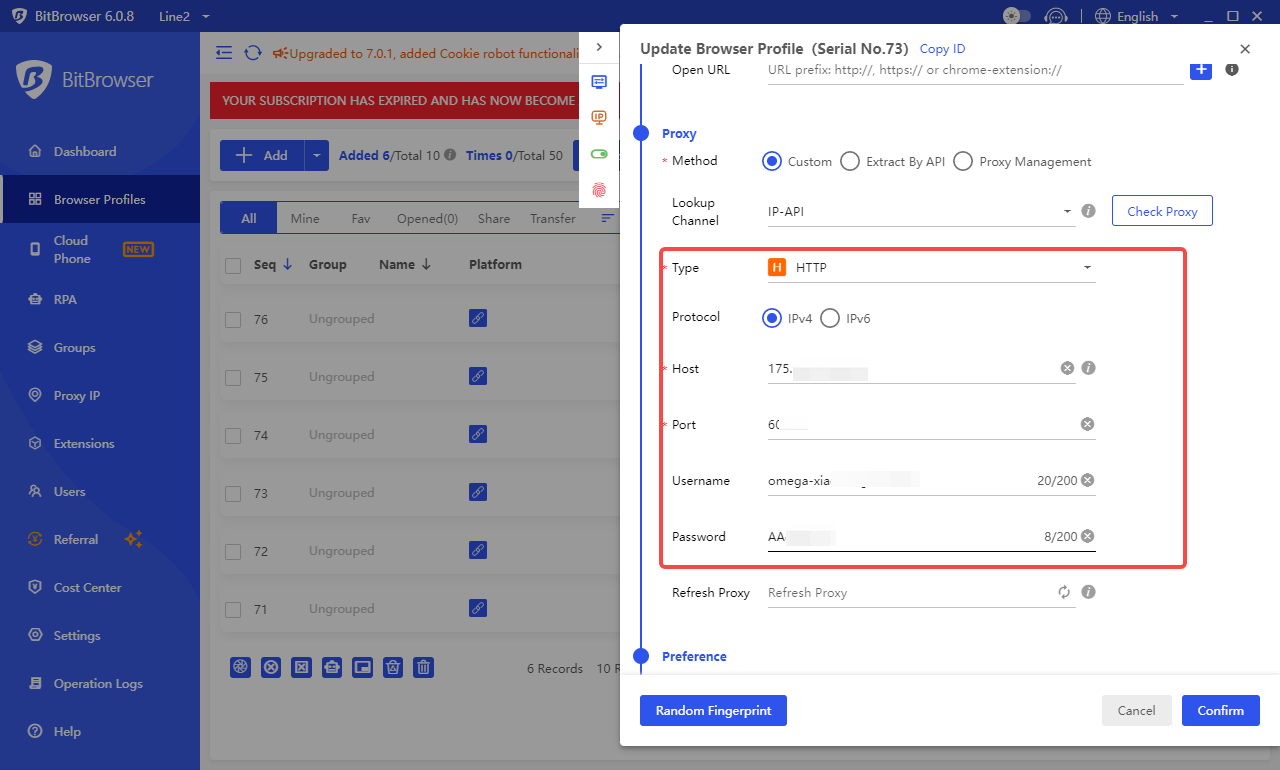
5. Next, just scroll down a little. In the Proxy section, fill in all the necessary information needed for the proxy connection.
Proxy Type: HTTP, HTTPS, or SOCKS5
Host: 175.X.X.X
Port: 6011 – for HTTP and HTTPS
6011 – for SOCKS5
Username: Use the login from your plan
Password: Use the password from your plan
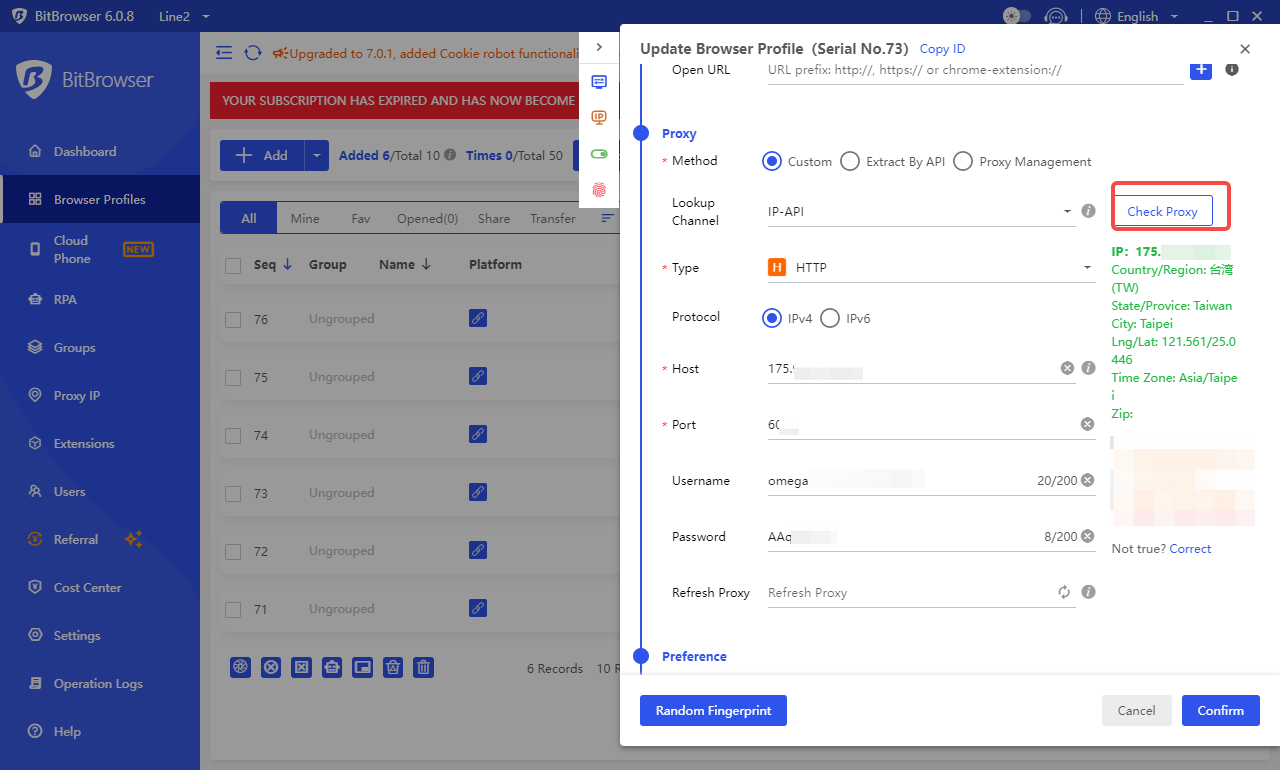
6. After filling in all the proxy connection details, you can click the "Check Proxy" button to check if the proxy is working properly. As a way to find out, we recommend using IP-API.
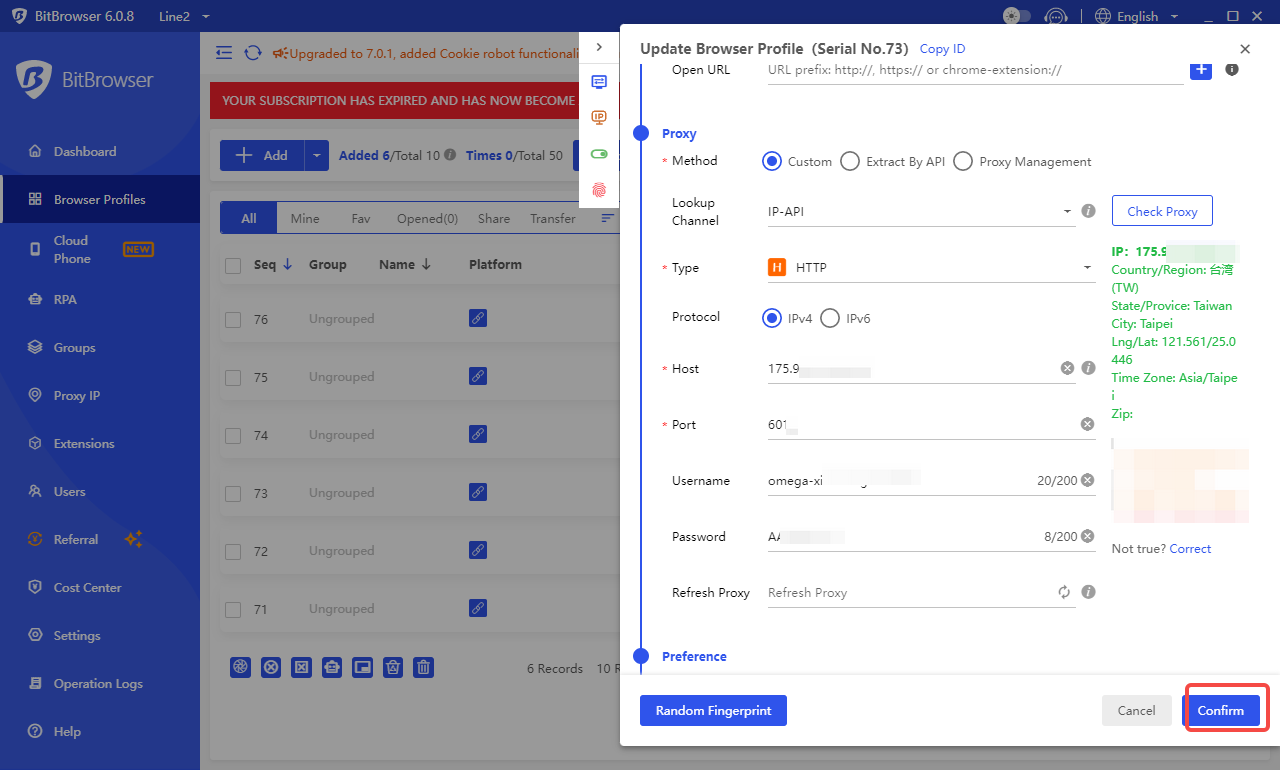
7. The proxy configuration process is now complete. If you need to modify any other settings, make the necessary changes and click on the Confirm button to save your configuration file.
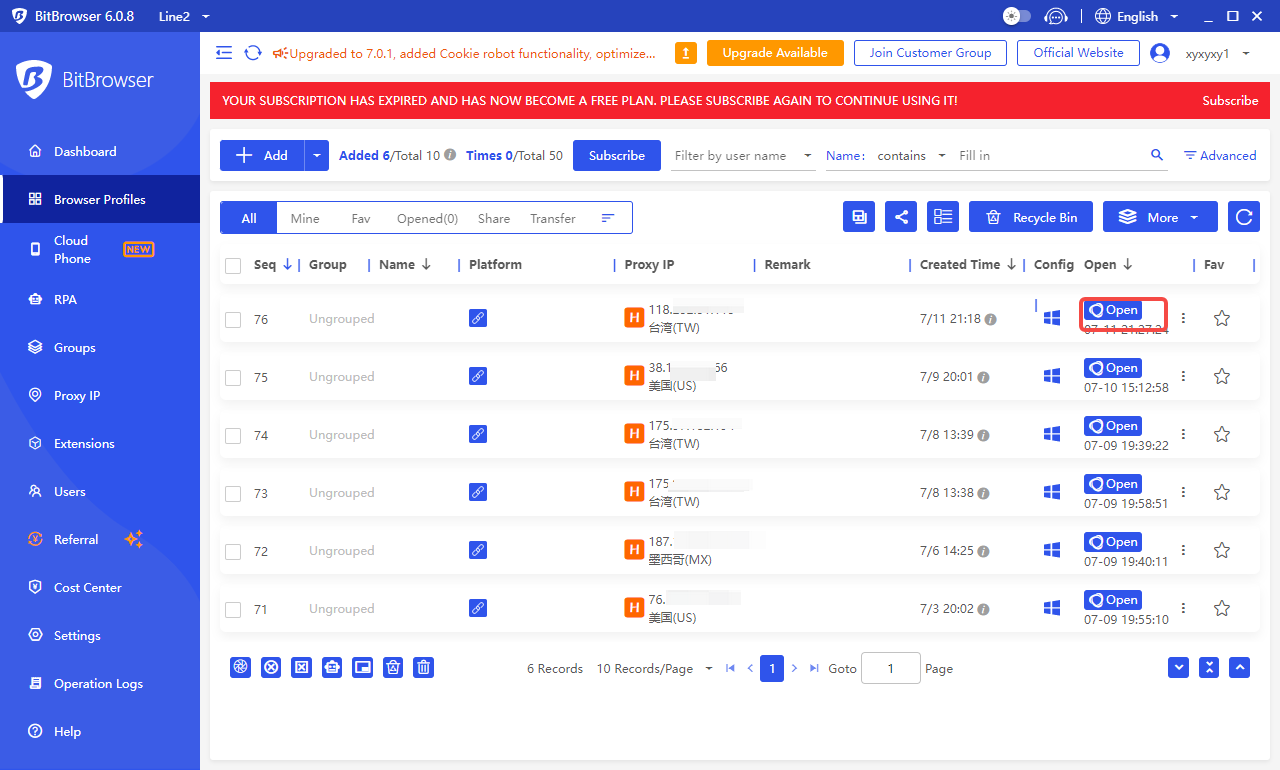
8. To launch the profile you created, just click on the Open button.
To configure the Lumiproxy proxy in BitBrowser, just follow these steps:
That's it! Now you can use BitBrowser for your purposes, choose the desired connection location, and enhance your anonymity and security with Lumiproxy proxies.
Cần giúp đỡ gì không? Email: [email protected]


